Over a decade ago, featured images became a staple of WordPress. Yet, there are still no standardized dimensions for featured images. This means you may have some work to do if you want to change WordPress featured image size.
Like many WordPress tasks, you can use the built-in functionality to alter sizes. You could also use code to change WordPress featured image size.
As such, this post will show you how to change the size of a WordPress featured image in several ways. Before this, let’s give you a brief introduction to featured images in general.
A Brief Introduction to WordPress Featured Images
Featured images became a part of WordPress 2.9 and were first called Post Thumbnails. By now, most themes use featured images unless there’s a unique aesthetic in play.

They’re a fixture in most WordPress designs for a few reasons:
- They can offer visual branding for the associated post.
- You can support your site’s branding across social media through preview snippets.
- They provide extra context for the blog post.
Despite their usefulness, WordPress-featured images aren’t always straightforward to customize. Next, we’ll discuss a couple of ways to change the size.
How to Change WordPress Featured Image Size
This section will show you a direct way to change the size of a WordPress-featured image. This will be applicable if the default size isn’t proprietary. Let’s focus on this point first.
1. Find Out What Size Your Featured Images Use
Featured image sizes are not created equal. To find out what size your theme uses, there are a few outlets:
- You could ask the developer.
- The theme’s documentation may have the dimensions you need.
- There could be a dedicated setting within the theme’s options.
Your goal is to determine if the featured image size matches one of the presets within WordPress.
If none of the above is fruitful, you must investigate yourself.
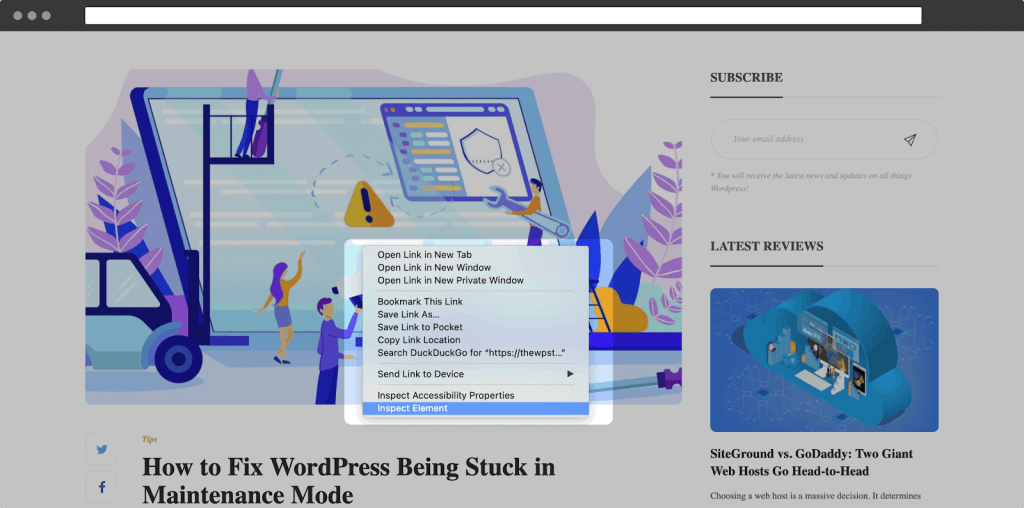
To do this, open a blog post in your favorite browser and inspect the element. This is going to be different depending on your browser. In Firefox, you right-click and select Inspect Element:
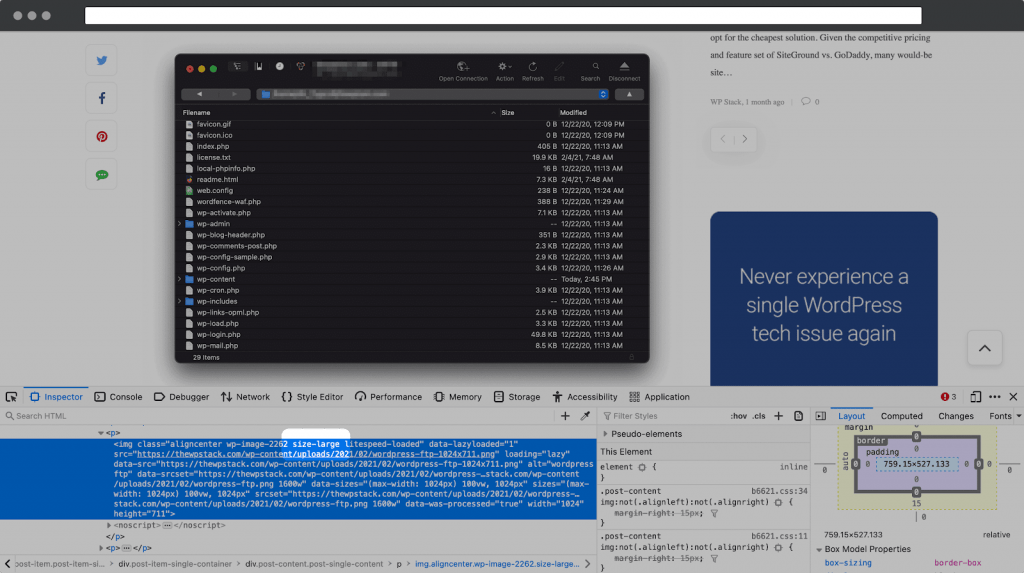
Next, make sure you’re in the Inspector screen—that is, you can see the HTML code. From here, select the HTML tag that corresponds to the featured image.
Depending on your WordPress site, you may see something different from our example. Regardless, look for a class called featured-image or post-thumbnail:

You’ll also see some nested HTML tags here – our focus is on the img tag. For this, you’ll want to see whether there’s a class that determines the image’s size:
Once you have this, you’ll want to move on to step two. In contrast, if there’s no defined size class, check out a later section on custom image sizes.
2. Set the Featured Image Size Within WordPress
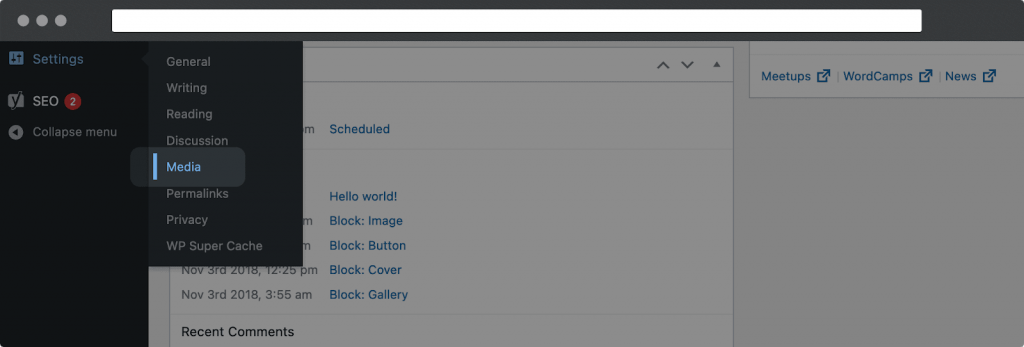
If WordPress featured image size has a class to define its dimensions, changing it is a snap. To do this, head into your WordPress dashboard and navigate to the Settings > Media page:
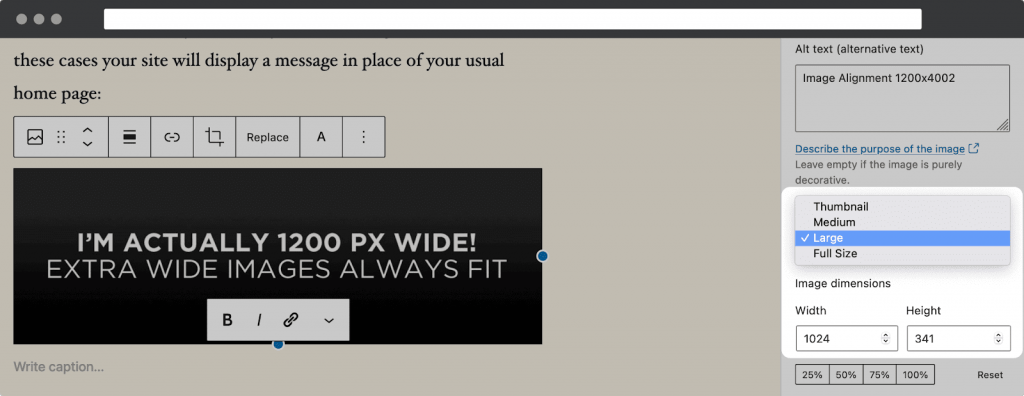
This page lets you change the sizes for preset image sizes. These are the same options you find in the Image Block’s settings.
Here, you should change the settings relating to the class of the featured image size. For example, if you see a size-large class, you’ll only want to change the Large size setting.
It’s worth noting that this will change the dimensions for all images using the same size. Because of this, you may want to set a custom WordPress featured image size. We’ll show you how to do this later.
3. Regenerate Your Thumbnails
There’s one more step in changing the WordPress featured image size. You’ll need to regenerate your thumbnails. In other words, your changes will only affect newly uploaded images. As such, you need to restore your other featured images.
To do this, we recommend a plugin such as Regenerate Thumbnails:

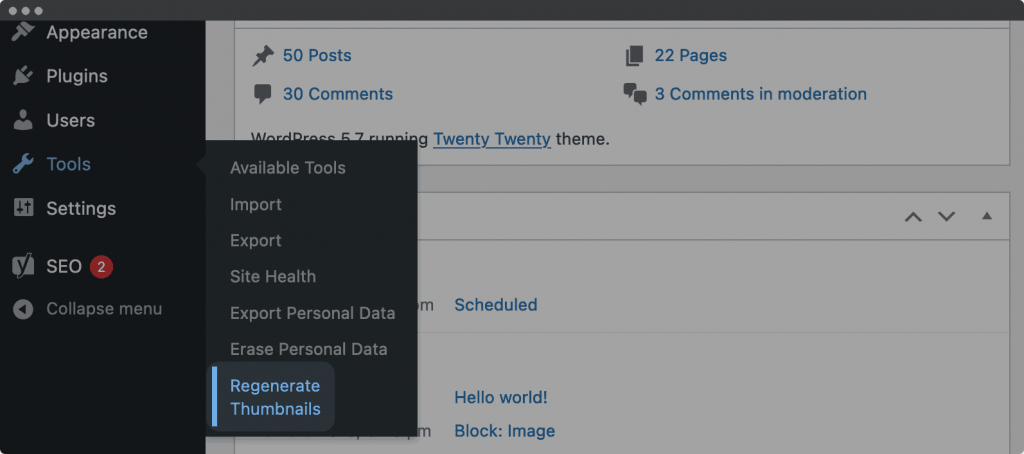
First, install and activate the plugin. You’ll find the relevant settings on the Tools > Regenerate Thumbnails screen:
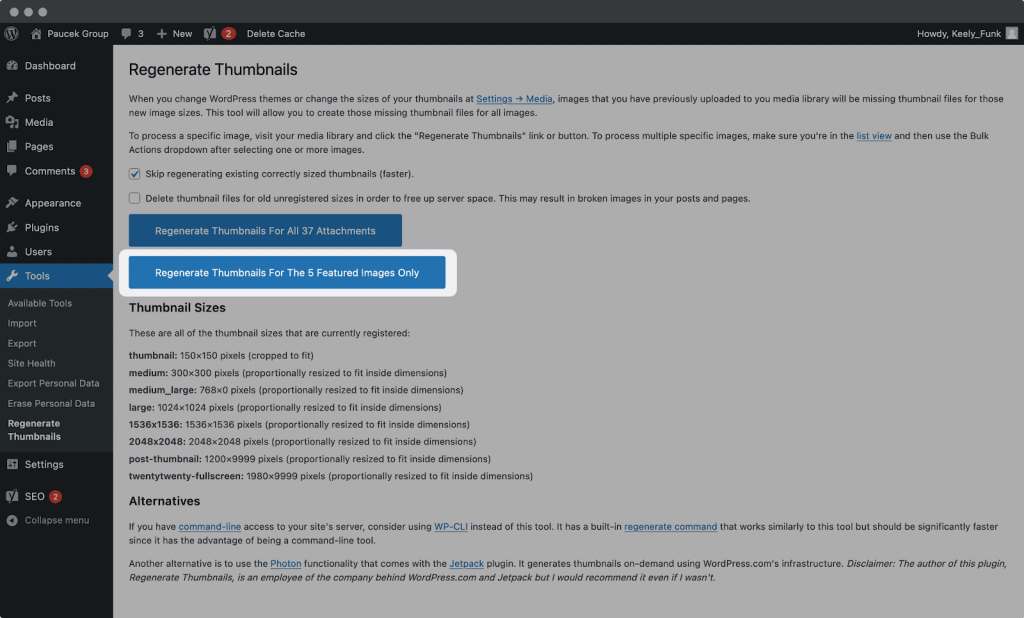
While there’s a lot of information here, you’ll only need one button. Here, you can click the Regenerate Thumbnails For Featured Images button.
Once WordPress has finished its thing, your featured images will have changed. Remember that this will also change the size of other images using the same dimensions.
How to Change a Custom WordPress Featured Image Size
Earlier, we noted that you may not see a defined image class when viewing the HTML. You’ll need to find the featured image size and associated class in these cases.
There are a couple of ways to do this. The simplest way is to install the Regenerate Thumbnails plugin. Once you head to WordPress’ Regenerate Thumbnails screen, you’ll see a list of image sizes:
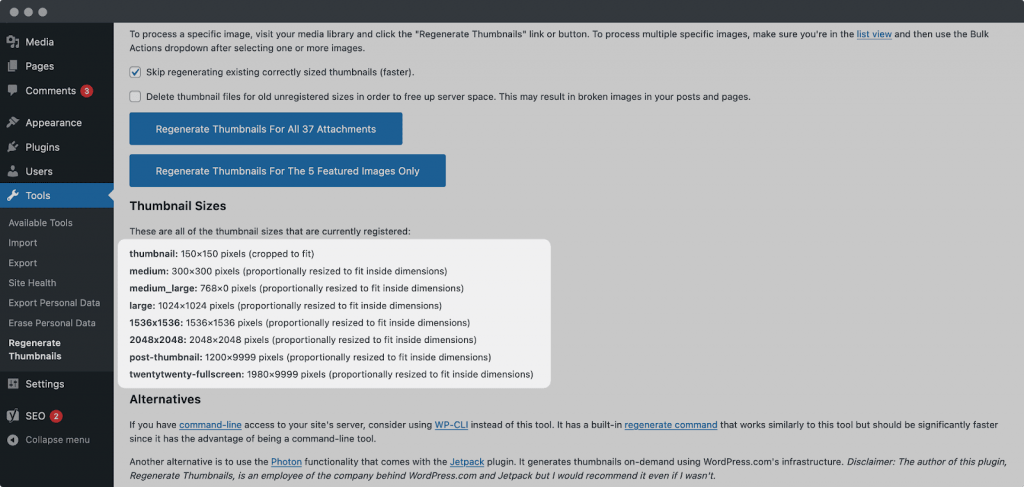
One will correspond to your featured image size. Next, you’ll want to see if your current theme has an option to change WordPress’ featured image size. If not, you’ll have to code something to do the job. Before you get your hands dirty, you’ll need:
- Administrator access to your WordPress website.
- A current, clean backup in case the worst happens.
- A child theme to make sure your changes remain after an update.
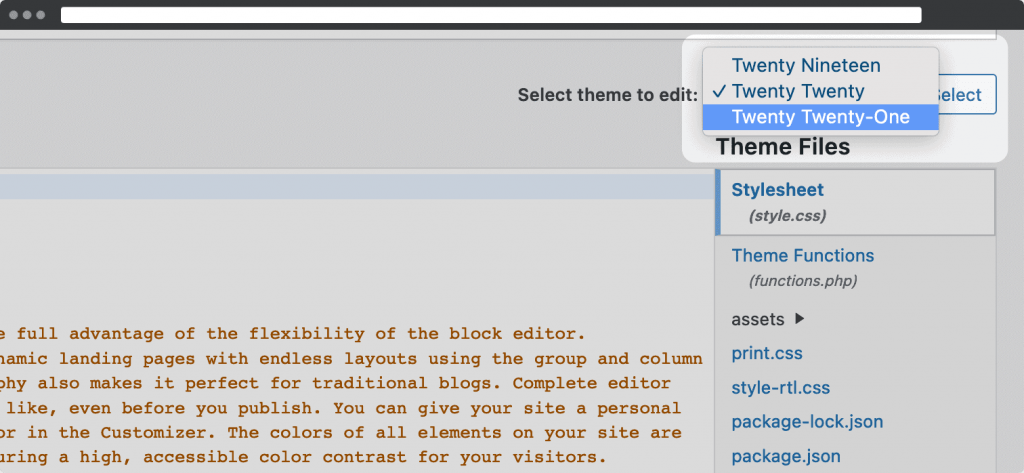
You’ll want to go to the Appearance > Theme Editor screen from here. Once you’re here, make sure you select your child theme from the top right-hand drop-down menu:
Next, look for the Theme Functions (functions.php) option in the sidebar and open it in the editor:
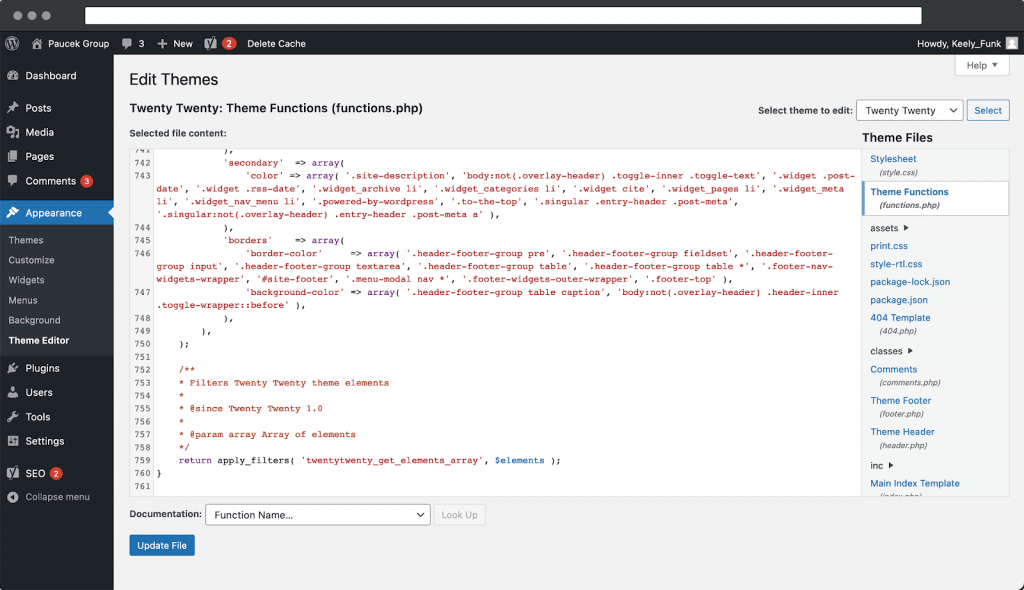
The next job is to take the size class of your featured image and use it to add the following code to the bottom of your file:
remove_image_size( ‘post-thumbnail’ );
add_image_size( ‘post-thumbnail, 900, 600, false);
This removes the existing image size from WordPress and replaces it with your own. Of course, you’ll want to use the correct class here and define your dimensions. Note that the false argument determines whether an image gets cropped or resized. To crop images to your set dimensions, use true.
Finally, save your changes, then regenerate your featured images as outlined earlier. This should give you a custom WordPress-featured image size.
In Summary
Featured images play an important role in any blog. Sometimes, you’ll need to change the dimensions to fit your layout and design. Reaching your goal involves a few steps.
This post has looked at how to change WordPress’ featured image size. Let’s recap the steps:
- Determine your current featured image size.
- Set the featured image size using either WordPress or code.
- Regenerate your featured images to apply the changes.
Are you considering changing WordPress’ featured image size? Tell us why in the comments section below!

Best WordPress Ecommerce Plugins Compared
There was a time when WordPress was known as a mere blogging platform. Now, it has become the need of the hour for several occasions whether you want to develop an e-commerce website or a business website, online marketplace, podcast website, dropshipping website, affiliate website,…

WooCommerce Product personalization – the Ultimate Guide
WooCommerce provides many benefits to web store owners operating in foreign eCommerce markets. Every online store has its style of product representation, but is everyone successful? Representing a product is not the only way to success because it requires many tasks—for example, product promotion, SEO…

How to Create a WordPress Image Gallery
Whether you’re a photographer, designer, or creative person who wants to create an impressive image gallery in WordPress, we have prepared some helpful tips for you. You may already know this, but WordPress provides a basic gallery block. Using the WordPress Gutenberg Block Editor, you…